LUMO - Firmware Update - Instructions at bottom of page
Note: if your firmware is several versions out of date, you can jump straight to the latest version instead of installing each in order of release.
V1.7 - Click Here To Download
Change Notes:
Improved low brightness flash detection
Flash ratio stops fixed, now shows proper ratios
Improved results layout when multiple options are activated
Added “Incident Before Flash” option, which will sample and display an incident ambient reading while readying the meter for flash. Accessed by scrolling past the bottom of the flash menu, to the second page where “IB4F” is shown.
Priority mode is now shown as “SHUT.” and “APER.” in the menu to improve clarity and remove redundant text. Fast-switch between priorities by double-clicking the down button in INCI or REFL modes.
How to Install
Connect a USB-C cable into your computer’s USB port. The included USB-C cable is ideal. If not using the included cable, make sure the cable is not a power-only cable and has data lines, most cords included for devices that only need charging (flashlights, earbuds, etc.) don’t include data lines. Cell phones, USB hubs, any cable that came with device needing more than just power will have them.
2. Turn off the LUMO if it is on
3. Hold down the right button
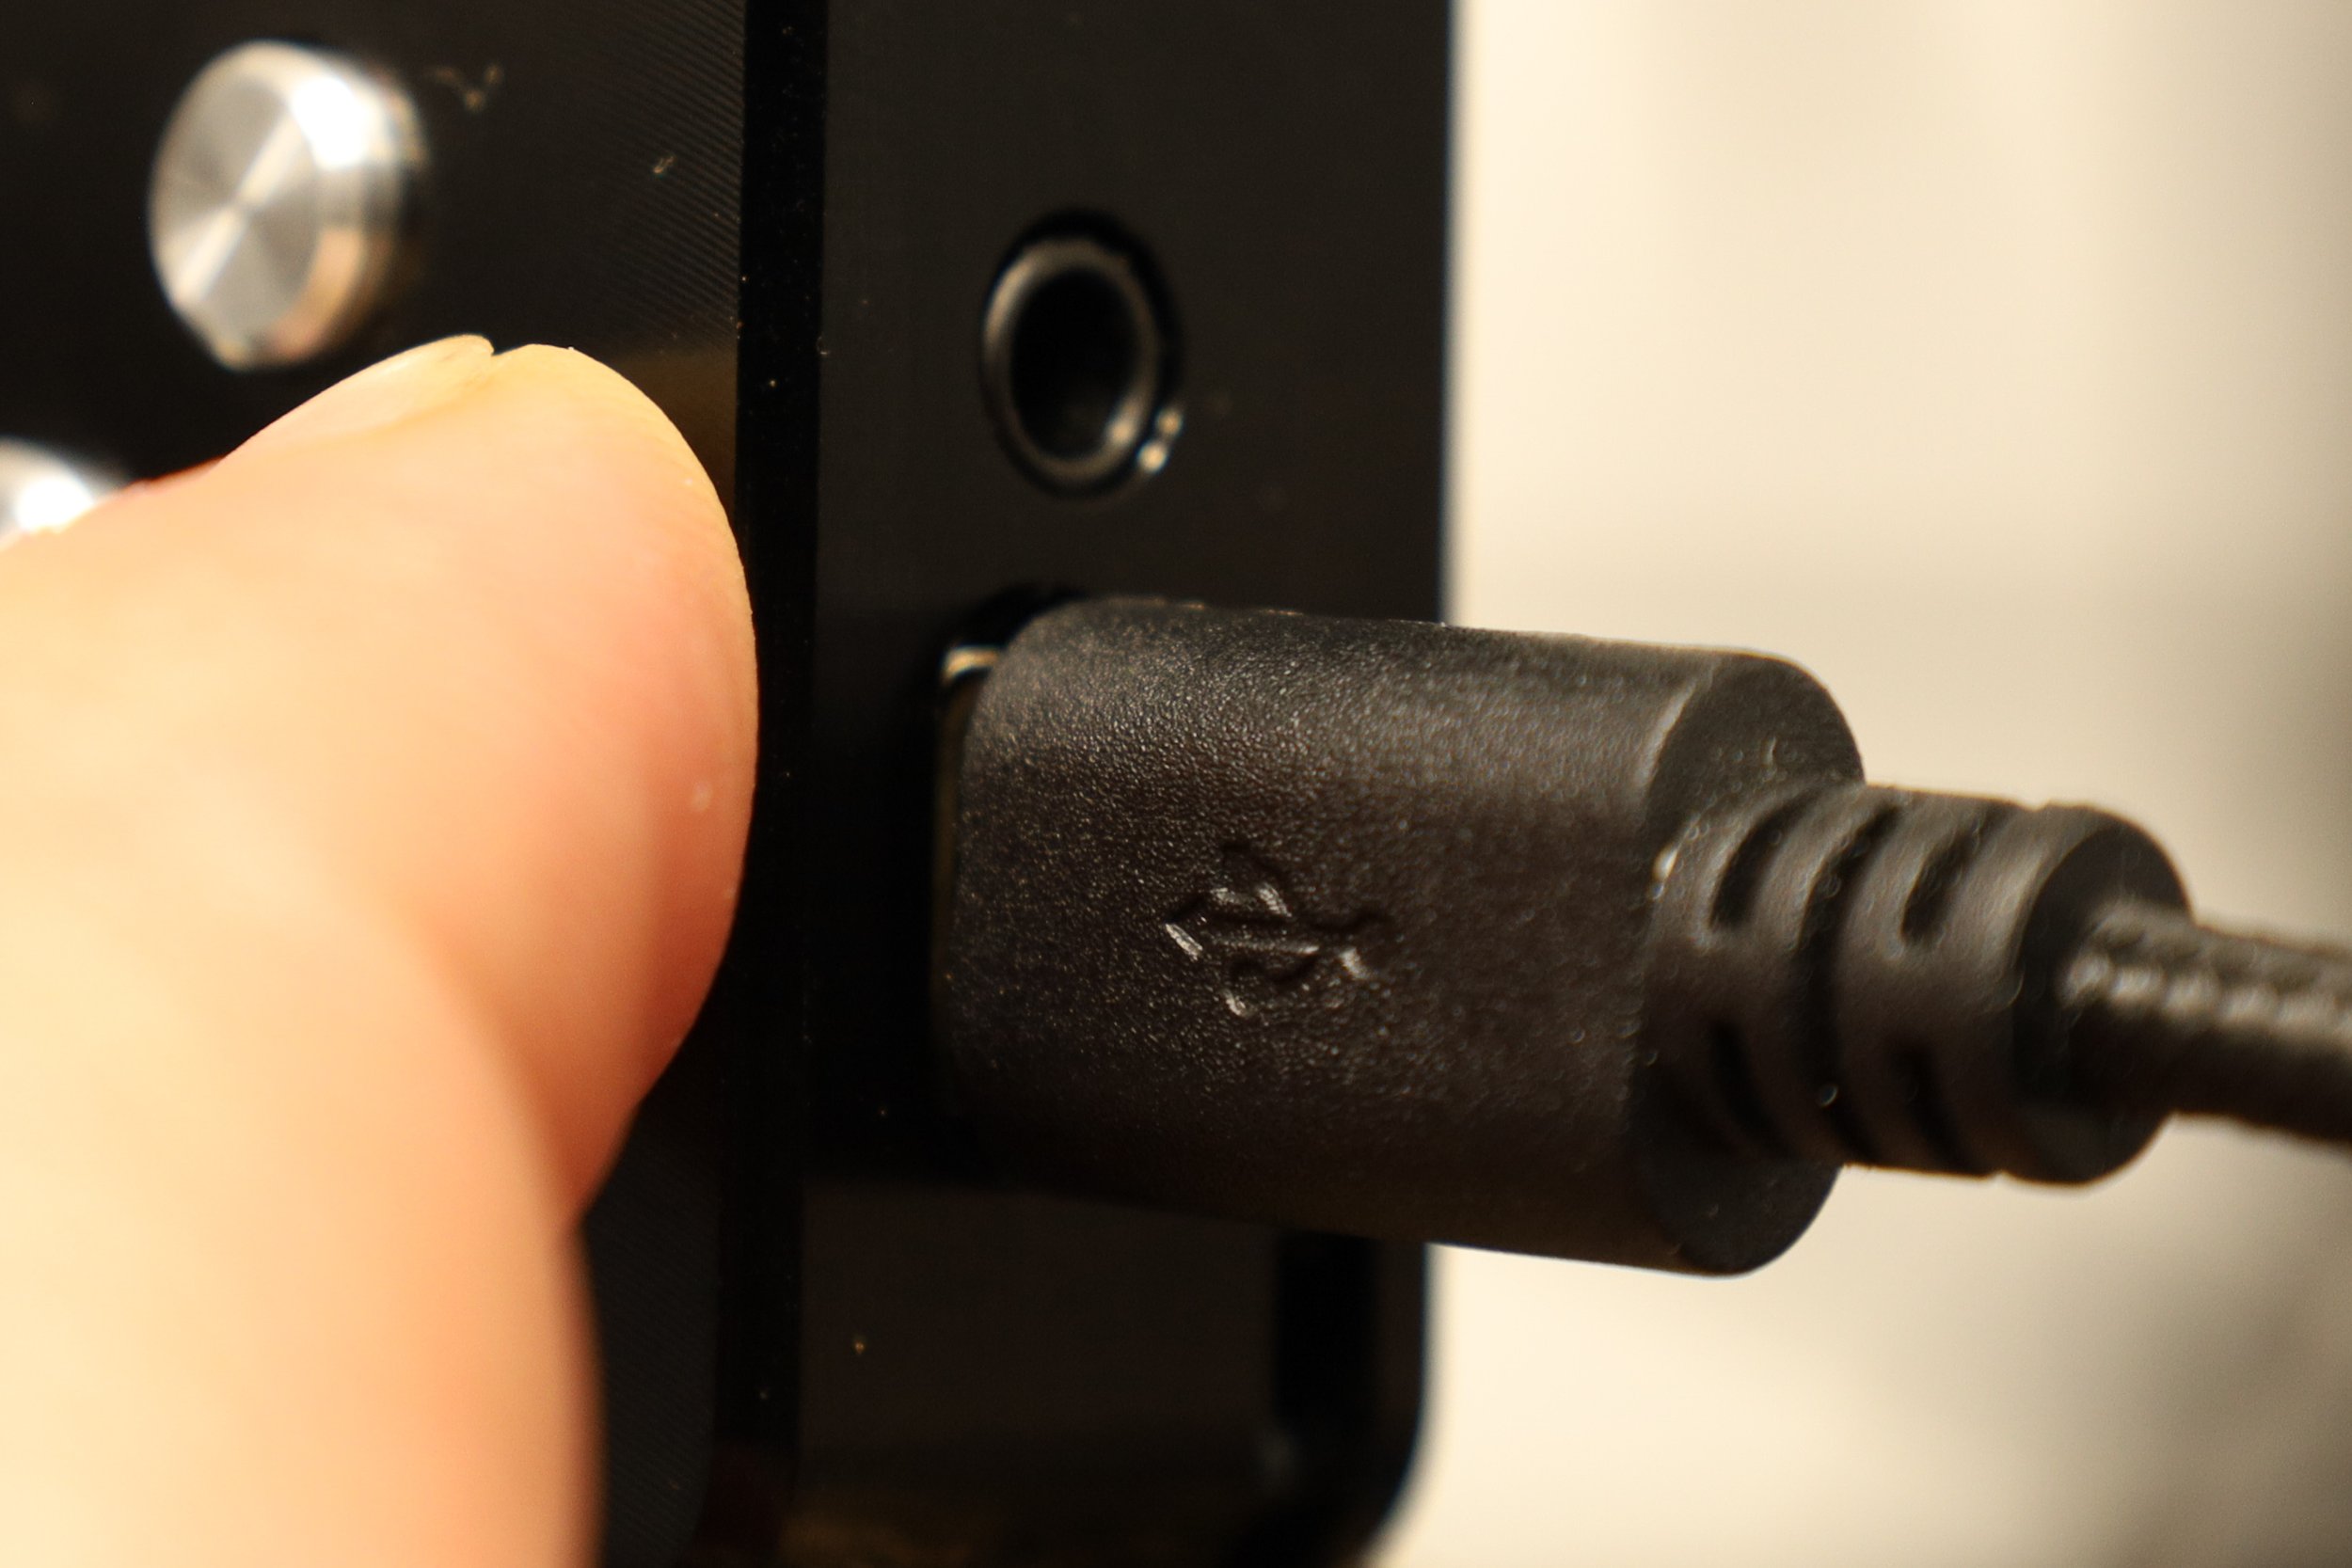
4. With your other hand, insert the USB-C cable into the meter’s USB port.
5. When prompted on the LUMO screen, release the right button and hold the left button
6. Keep holding the left button until a storage device appears on your computer.
7. The first time, your computer may install some drivers. The meter will appear as a USB storage device named “RPI-RP2”
8. Copy and paste the “.uf2” firmware file that you received from Reveni Labs onto the device
9. Agree to any prompts about copying the file
10. The meter will self-eject from the computer once complete, ignore any messages of “improper” or “unsafe ejection”
11. Once transfer is complete, disconnect the USB-C port from the meter
12. Enter the Settings Menu and confirm the version number at the top of the screen is now updated.
NOTE OF POSSIBLE ISSUE WHEN USING APPLE (MAC) COMPUTERS
If immediately following the update your LUMO does not respond to button presses or being reconnected to the USB port, it may be frozen. The only way to resolve the issue is to remove the four screws from the back of the LUMO and disconnect the battery. This will not void your warranty. Reconnect the battery, power the LUMO, and check the VERS. number is correct by navigating to the S tab of the menu.

