
Spot Meter Mk.3 Update - How to install - Apple/Mac
1 - Connect a USB-C cable into your computer’s USB port. The included USB-C cable is ideal. If not using the included cable, make sure the cable is not a power-only cable and has data lines, most cords included for devices that only need charging (flashlights, earbuds, etc.) don’t include data lines. Cell phones, USB hubs, any cable that came with device needing more than just power will have them.
2 - Download the firmware file from https://www.reveni-labs.com/spot-meter-mk3-firmware-updates and the installer command file
3 - Wait for the meter to turn off, if it is currently on.
4 - Be ready to look into the meter’s viewing lens. Hold down the right button while inserting the USB-C cable into the meter’s USB port.
5 - When prompted on the internal screen, release the right button and hold the left button
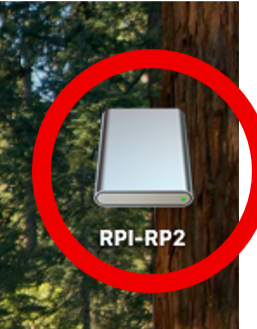
6 - Release the left button a couple seconds after the screen goes black. A storage device called “RPI-RP2” should appear on your Mac’s desktop. Don’t open the RPI-RP2 folder.
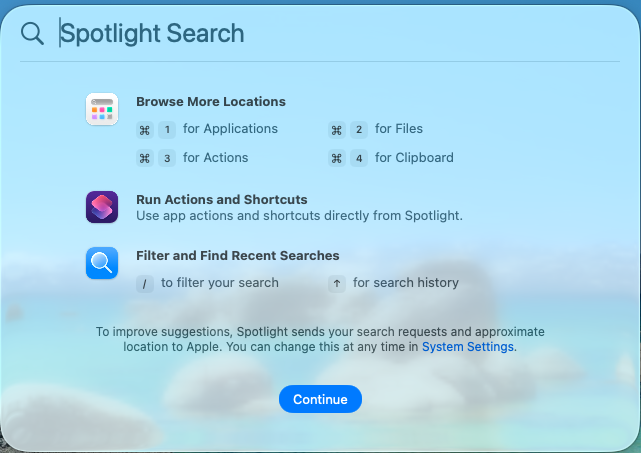
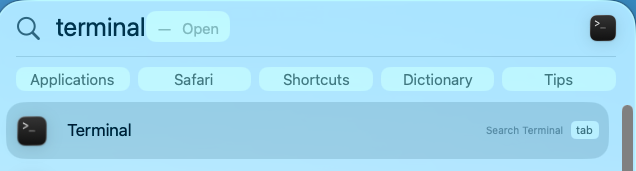
7 - Press Command + Spacebar to open Spotlight Search. Type in “terminal” and press the Return key. The Terminal window will open.
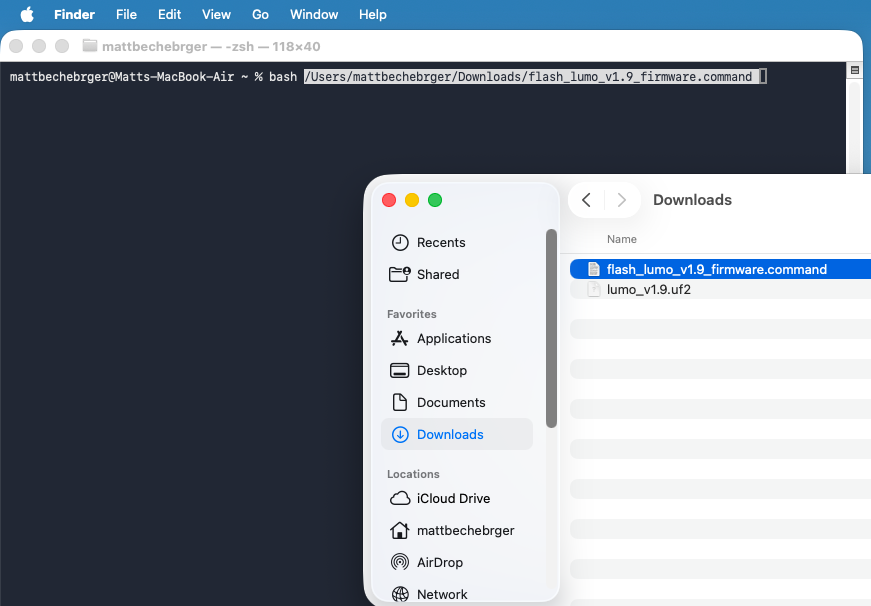
8 - Open your downloads folder and arrange it next to the Terminal window.
9 - Type into the terminal line bash, followed by a space, then click and drag the command file from your downloads folder to the terminal window.
10 - Press the Return key. If prompted to allow “Terminal” to access your downloads, click Allow.
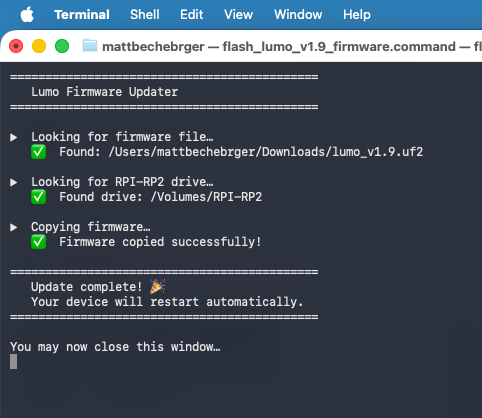

11 - The file will be transferred and the meter will be automatically disconnected. Ignore any message about “Disk Not Ejected Properly”.

12 - Enter the menu and observe the firmware version shown at the top of the S tab has been updated.